Fonts and Typography : Create your Own Font illustrator
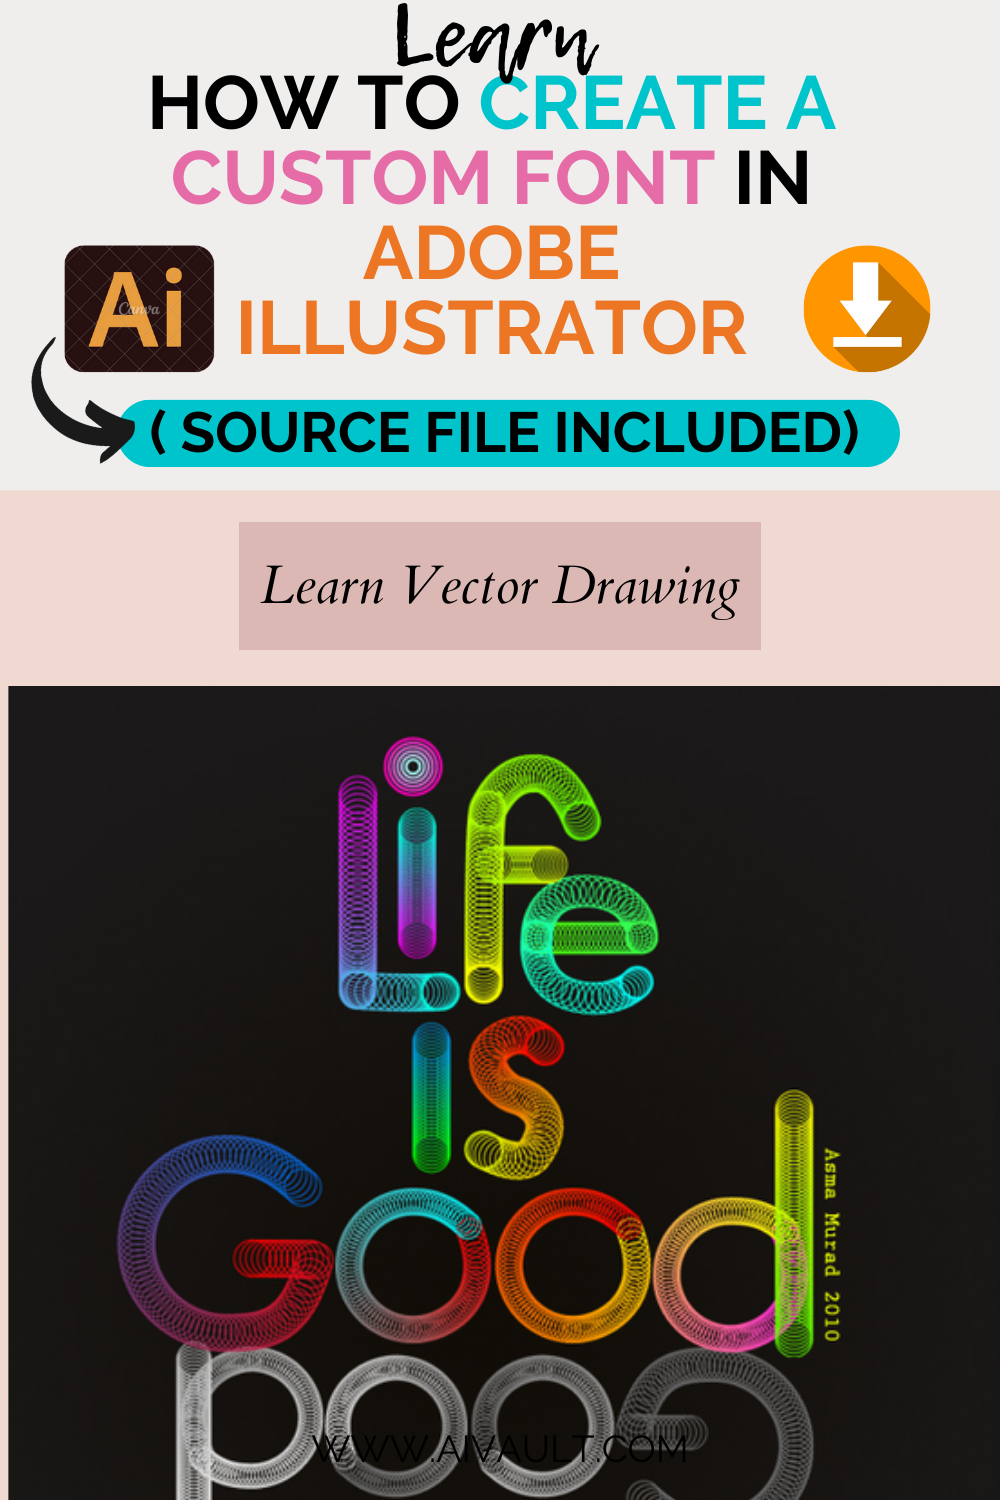
This tutorial will take you through creating a custom Font while understanding the dynamics of Blend Tool .
*By definition, a blend is the result of two or more items that are combined. In Adobe® Illustrator®, a blend is a set of at least two objects that morph into each other. In an example where you are blending two objects, Illustrator generates new shapes that appear between the two objects, making it seem like one of the objects is turning into the other. The iterations that are created between the two main objects (also referred to as key objects) are called steps
My today’s exploration was playing with the blend tool and understanding its dynamics.I played with this single tool for a while and came up with the following
*Although at first glance it may seem like creating blends is something reserved for highly specialized tasks, the reality is that you can use blends for many different reasons. In fact, back in the day, before gradients were introduced to Illustrator, blends were the only way you could create color gradations.
CREATING A SPINE
Below specified steps will show you how i used it You can choose to have a typed font and outline it OR simply write your own , i started off by typing the wordings as a guide line but later adjusted the direct nodes to change the font to my requirement. This outline of the Font i call “Spine”.
CREATING BLENDS (Brushes)
Next step was to create a few basic blends which i can use and apply to the “Spine” of the lettering that i created.
I chose a single circular shape with a colored stroke and no fill and will create options for blend. These will somewhat work like Brushes for illustrator in this case.
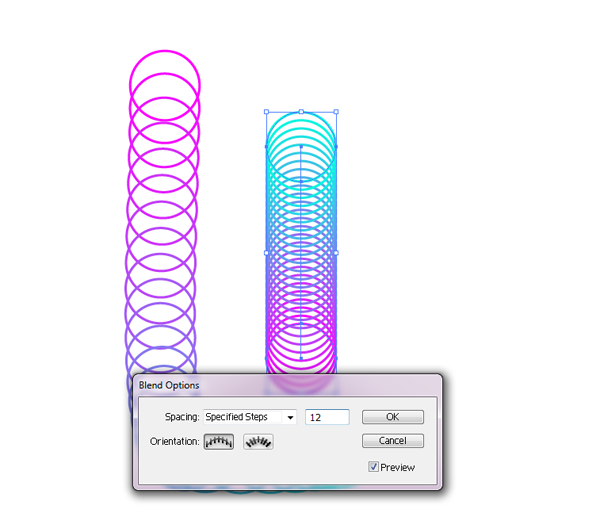
To create a blend select both objects and go to Object> Blend > Blend option
Specify the number of steps , dont worry about how it will fit a shape on a spine this can be easily edited later.
APPLYING THE BLEND TO THE SPINE
In order to place this BLEND BRUSH over the spine select the blend and the Spine go to Object>Blend > replace spine.
EDITING THE BLENDS AND SPINES
*Once you’ve created a blend, you can edit it in a variety of ways. It should come as no surprise to you at this point to learn that blends are live in Illustrator, meaning you can adjust them even after the blend is applied. To do so, using the Direct Selection tool, click a key object and change its color, shape, position, attributes—whatever—when you do, Illustrator simply redraws the blend to incorporate the change
Should you like to change the color of the applied blend use direct selection tool to select the shape of one end and edit it. Maybe smaller , altered or color it will change easily . Can also be done to the Applied spine.
You can easily change the dynamics of the shape by editing the form of the spine using direct selection tool
The Form
The Steps
You can edit the number of steps according to the shape requirement which means that if i require to reduce the number of steps involved in blending i will simply edit the number of steps by selecting the blend option again ( while i keep the object to be edited selected) and reducing the specified steps. see below.
The Color
Another interesting aspect is that you can use the direct selection tool to change the color of the entire blend , simply direct select the shape and pick the nearest color that you would like to continue blend from.
Preview of the Spines and blends skeleton
Final Artwork
*Further Reading
DOWNLOAD THE SOURCE FILE WHEN YOU ARE A MEMBER. Login Or Sign up
You May also like Some more Vector Text Effect Tutorials!
[categorythumbnaillist 14]
 Printables, graphics, backgrounds, vectors, illustrations, fonts, and design elements given on this site are for personal use only. You may not alter them or redistribute them for free or monetary gain without written consent from the author, Asma Murad. If you want to share these resources with others, please share the link to the blog post. Teachers/educators: You may share these with your classes and colleagues as long as they are not edited in any way, Cliparts & Resources shared for free are not to be used as printables for sale.


