rounded frames in photoshop tutorial
This tutorial will Show you how to use decorative overlays on your photographs.
Learning level – Beginner
I am using Floral Decorative overlay frames with slightly rounded off edges .(I’m using Adobe Photshop Creative Suite 3 *PSCS4* in this tutorial, but you can achieve this same thing in any Photo Editing program that supports PNG files. i.e. Photoshop Elements, etc.)
1. Go to: FILE>OPEN> & find your photo.
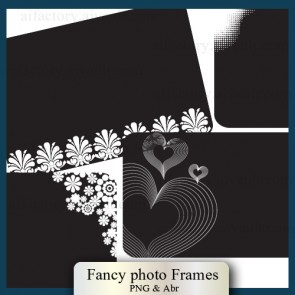
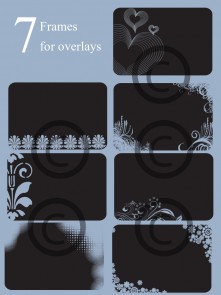
1. Go to: FILE>OPEN>and open up any of the frames that you would like to use as an overlay , here i browsed and opened up a frame from the calender photoshop brushes set (remember? facebook fans received it for free? still free to download through the store)
When you have opened the png You will see some Grey and white boxes behind around the frames don’t be alarmed since it is a png file this area means it is transparent.
i chose to use this frame go ahead right click and save it to your disk if you want.
3. With your Move Tool, drag & drop your photo ON TOP of the black PNG file. Your Layer Palette will look like this.
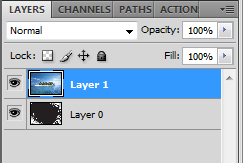 4. Go to: LAYER>CREATE CLIPPING MASK.
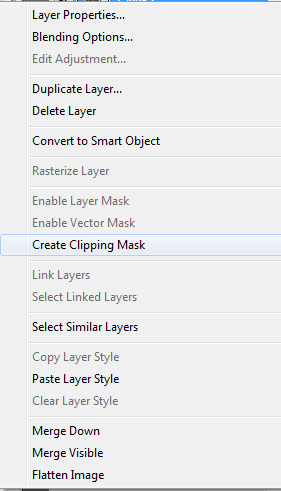 5- And your image will create a clipping mask showing off the image something like this!
 6- Save it as a jpg , post it to your blog or any other project you are doing. you can play more with it further to create some background color for it. but that’s totally upto you!
Here the jpg saved preview
Find out more photoshop brushes , frames and overlays , digital backgrounds , textured papers at the aivault store. Keen on learning more check out more tutorials on this site
 Printables, graphics, backgrounds, vectors, illustrations, fonts, and design elements given on this site are for personal use only. You may not alter them or redistribute them for free or monetary gain without written consent from the author, Asma Murad. If you want to share these resources with others, please share the link to the blog post. Teachers/educators: You may share these with your classes and colleagues as long as they are not edited in any way, Cliparts & Resources shared for free are not to be used as printables for sale.

