


illustrator Tutorials : How to Create a corporate background using Brushes for illustrator
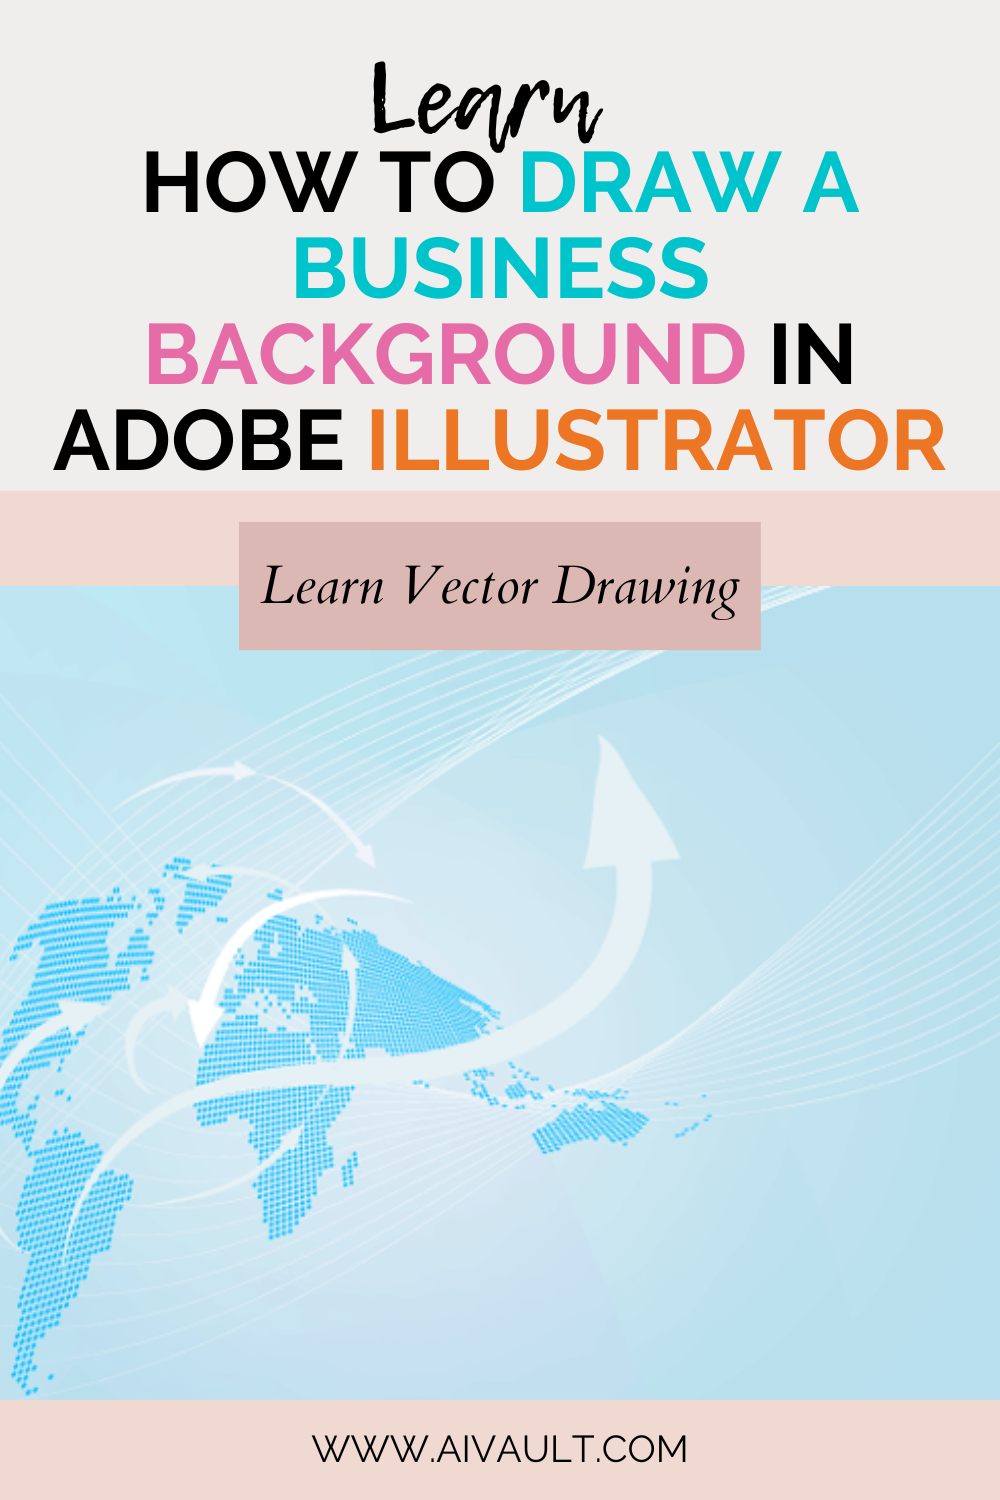
Learn how to draw a corporate background image in adobe illustrator, vector illustration using basic tools #adobeillustrator #graphicdesigner #graphicdesigntools #vectortutorial #vectortut
Creating backgrounds which are effective is an essential part of the process of creating good designs .Here we will create a background which you can use for multiple projects in the end , ie background for presentations , for websites or simply an ad. This is a simple tutorial showing step by step how to create one using tools such as Pen tool , brushes and a simple Arc Effect.

Step 1
Creating background
Start off by creating a simple gradient background Here is the Theme of colours we will follow

It is always a good idea to have it clear in your mind what theme you are going to follow . I use often use colourlovers.com to help me in this process.

Step 2
Drawing Bleded lines
Using the pen tool draw two white stroke Lines having no fill.

Go to Object> Blend> Blend options

Adjust your blending options to some specified steps , something like this.

Hit Alt+Ctrl+B ie Object>Blend>Make

Create in the same way two more lines using Pen Tool (P) and using Object> Blend > make

Since your lines are all placed up now will be a good idea to play around with the nodes ( click on the End of start of your original line) adjust handle and stroke to get a better effect and curve in the lines. Here is my final result which i am happy with

Step 3
Elements Build up
Now we need to bring some elements into it . I brought This worldmap from my library and pasted it on the workboard
Right Click > Arrange> Bring to Front

Using a colour coinciding with the theme of your work colour the map accordingly

Step 4
Using Effects
I will use some effect to modify this map a bit
Go to Effects> ARC

Apply the effects you will get something like this

Step 5
Creating Arrows using Brushes
create some more random lines using the pen tool

open up your brush pallete Window> Brush Libraries > Arrows Standard

Select all your random lines and pick out an arrow brush and apply

Select each line one by one adjust stroke and width until you are satisfied with the outcome go to object>Expand your lines and drop a gradient shade to it , here i picked up from my colour pallete white and grey.

Step 6
Refining and Balancing
I am not too happy with the background at this point so i will add up a few more shapes .

And more

fill them up with the same gradient colour lighter than your background’s adjust transparencies until you are satisfied with the final outcome!
Here is the result.
